The Ultimate Infrared Heater Installation Guide
Short answer: Most infrared heaters are simple to install, but higher-wattage or hard-wired models should be fitted by a qualified electrician.
This guide covers placement, mounting, and safety essentials for wall-mounted and portable infrared heaters.
Introduction
Proper installation is key to maximising the efficiency and safety of your infrared heater. Whether you’re mounting a panel on the wall or setting up a portable unit, this guide provides step‑by‑step instructions to ensure a smooth installation.
Installation is only part of the picture; ongoing energy use is explained in how much infrared heating costs to run in the UK.
Planning Your Installation
-
Identify the Best Location: Choose a spot where the heater will face the area you want to warm. Avoid placing it behind furniture or curtains.
-
Check Power Requirements: Ensure your circuit can handle the heater’s wattage. Some high‑power panels require professional wiring.
-
Gather Tools and Materials: You’ll need a drill, screws, wall plugs, a spirit level, and if wall‑mounting, a bracket.
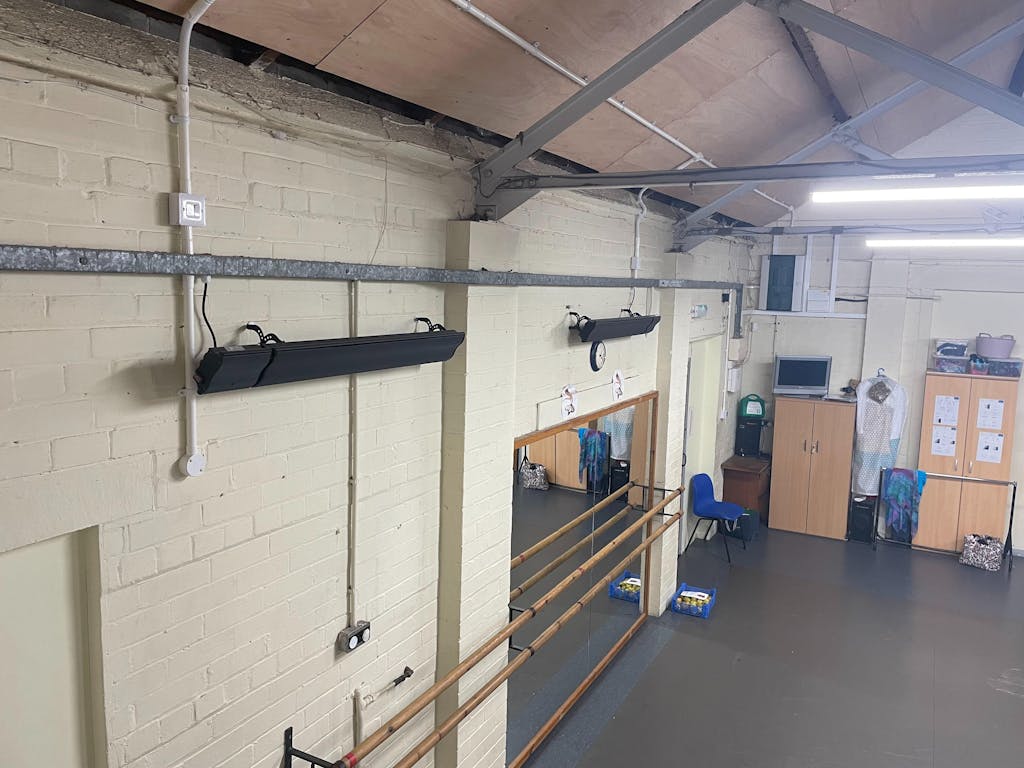
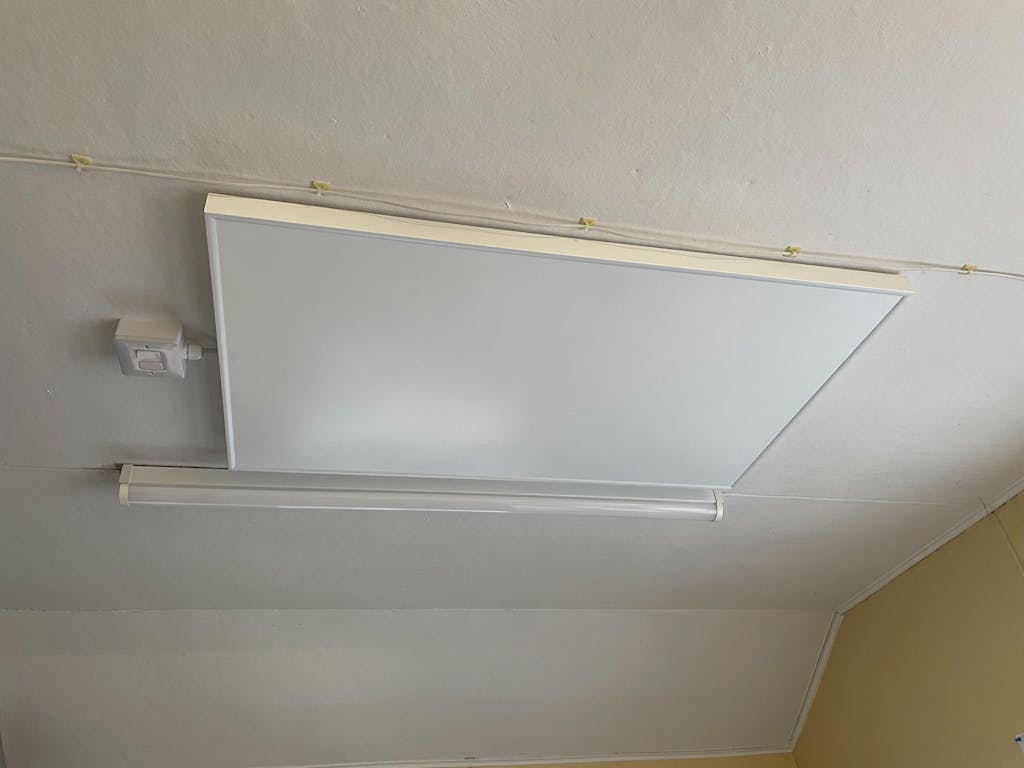
Installing a Ceiling mounted or Wall‑Mounted Infrared Panel
-
Mark the Bracket Holes: Use the bracket as a template to mark drill holes on the wall.
-
Drill and Insert Wall Plugs: Use appropriate plugs for your wall type (masonry, plasterboard, etc.).
-
Attach the Bracket: Screw the bracket into the wall or ceiling securely; use a level to ensure it’s straight.
-
Mount the Heater: Hang the panel on the bracket according to the manufacturer’s instructions. Ensure it locks firmly into place.
-
Connect the Power: Plug into a nearby socket or have a qualified electrician hard‑wire the heater. If you’re not confident with electrical work, always hire a professional.
Installing a Portable Infrared Heater
Most portable infrared heaters require minimal setup—usually unpacking the unit, attaching any provided feet or stands and plugging it in. Make sure there is adequate space around the heater for proper heat distribution and that nothing flammable is nearby.
Safety Tips
-
Keep Clearances: Maintain the recommended distance from walls, furniture and fabrics.
-
Don’t Cover the Heater: Covering can cause overheating and may trigger the safety shut‑off.
-
Use in Dry Conditions: Avoid exposing heaters to moisture unless they’re rated for outdoor use.
Not sure which heater or installation method is right?
Correct heater sizing and placement matters more than the installation itself.
- Use our wattage calculator to size each room
- Speak to an installation specialist